• Skip to main content
Mary Wiseman
  • START HERE
  • BLOG
  • SPEAKER
  • VIDEOS
  • ABOUT

izzy

Finding Your Way – Hess’s Tips for Education Reformers

August 16, 2020 by izzy

Excerpt from the Finding My Way article Letters to a Young Education Reformer (2017) by Hess. 

  • Jobs aren’t forever: step in, do some good, learn, grow and meet people
  • Value in working from the inside and the outside. Opportunities as arrayed along a continuum that spans from inside to outside the halls of power. Insiders are at the table where the decisions are being made. Outsiders are freer to speak their minds, spin radical solutions & push new ideas. These are just different, be willing to work both sides and move between them.
  • Watch out for thought bubbles and people who only think in a single way.
  • Do your job. Contribute, do stuff, even small stuff, one person can’t ‘fix’ education…however, one person can contribute. Your voice needs to be heard. 
  • Follow the Golden Rule
  • Embrace the 90-10 rule: 90% in your hands and 10% is out of your hands. Focus on the 90%. Do your job, be detailed and organized and when the 10% goes wrong, think on your feet tof make it right. 
  • Make deposits in the favor bank. Everything operates on favors. Pay attention to detail, people appreciate the little things. 
  • Presume good intentions
  • Don’t get too impressed with yourself
  • Sweat the small stuff: planning, deadlines and details
  • Unleash your brain, solve problems & look for opportunities to plan, write or take responsibility for a project or program.
  • Keep you word-other people want to be able to rely upon you.
Filed Under: Design

College UnBound

August 16, 2020 by izzy

August 16, 2020 my classmate Brandee Idleman and I reviewed the text College (Un) Bound by Jeffery J. Selingo. This text is a bit dated [2013] however, its ideas ring true now in 2020. Listen to our thoughts.

Filed Under: Design

August 16, 2020 by izzy

Brene Brown shows us all how to create empathy. Be brave and learn how to create a genuine empathic connection to really get in touch with our own fragilities.

https://www.marywisemandesign.com/3903-2/

Filed Under: Design

Transformed a pirate shop & a superhero store into true educational entrepreneurship enterprises

August 16, 2020 by izzy

Dave Eggers Video
I knew of McSweeney’s however, I didn’t know that Dave Eggers was affiliated. I’m sad the Dave Eggers video was presented the last week of this course -as an optional exercise -this was one of the best things that was offered in this particular course and it’s a bit sad that it came at the very end of the course.  I would highly recommend this go as the first video any future student, of this course, sees.

What did you get out of this?
That said what I got out of this was an extremely inspiring TED Talk and emphasis of how an entrepreneur does what they need to do.   How Dave Eggers was able to transform pirate shops, superhero stores and a vast number of other outward-facing spaces and transform them into tutoring centers for students right where the community needed them is a true educational entrepreneurship Enterprise.

Dave Eggers took an idea, a simple idea, and scaled it by using communities and individuals all of them helped public education in a most unique way.  What I love dearly is how Dave Eggers encountered every obstacle and found a way around it in an amusing humorous approach.

Filed Under: Design

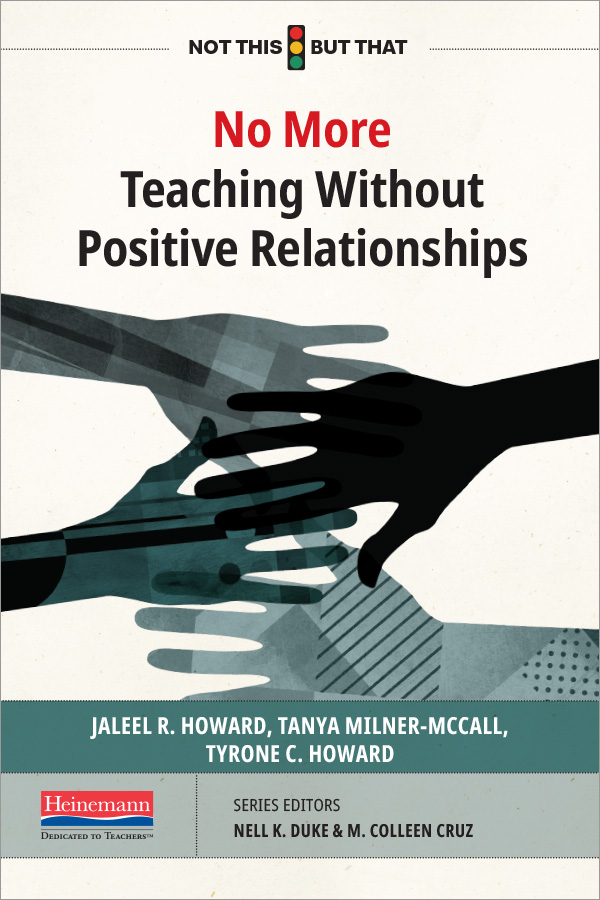
No More Teaching Without Positive Relationships – Book Review

August 16, 2020 by izzy

I was glad the text touched on ‘not giving up on students’.  So many times I hear faculty say,, ‘Oh, you know they try to get away with doing so as little as they can.’  OR ‘Well, so many are just low achievers.’ My blood boils when our faculty speak poorly of our students. They are our students.

When I find myself in this position, I just have to then speak to curricular and pedagogical approaches that might work in the classroom [if the faculty is willing to try] and hope for the best and make a note to circle back with these faculty and keep trying.

Filed Under: Design

DIY: Hate those vinyl tiles? Paint over ’em!

February 14, 2014 by izzy

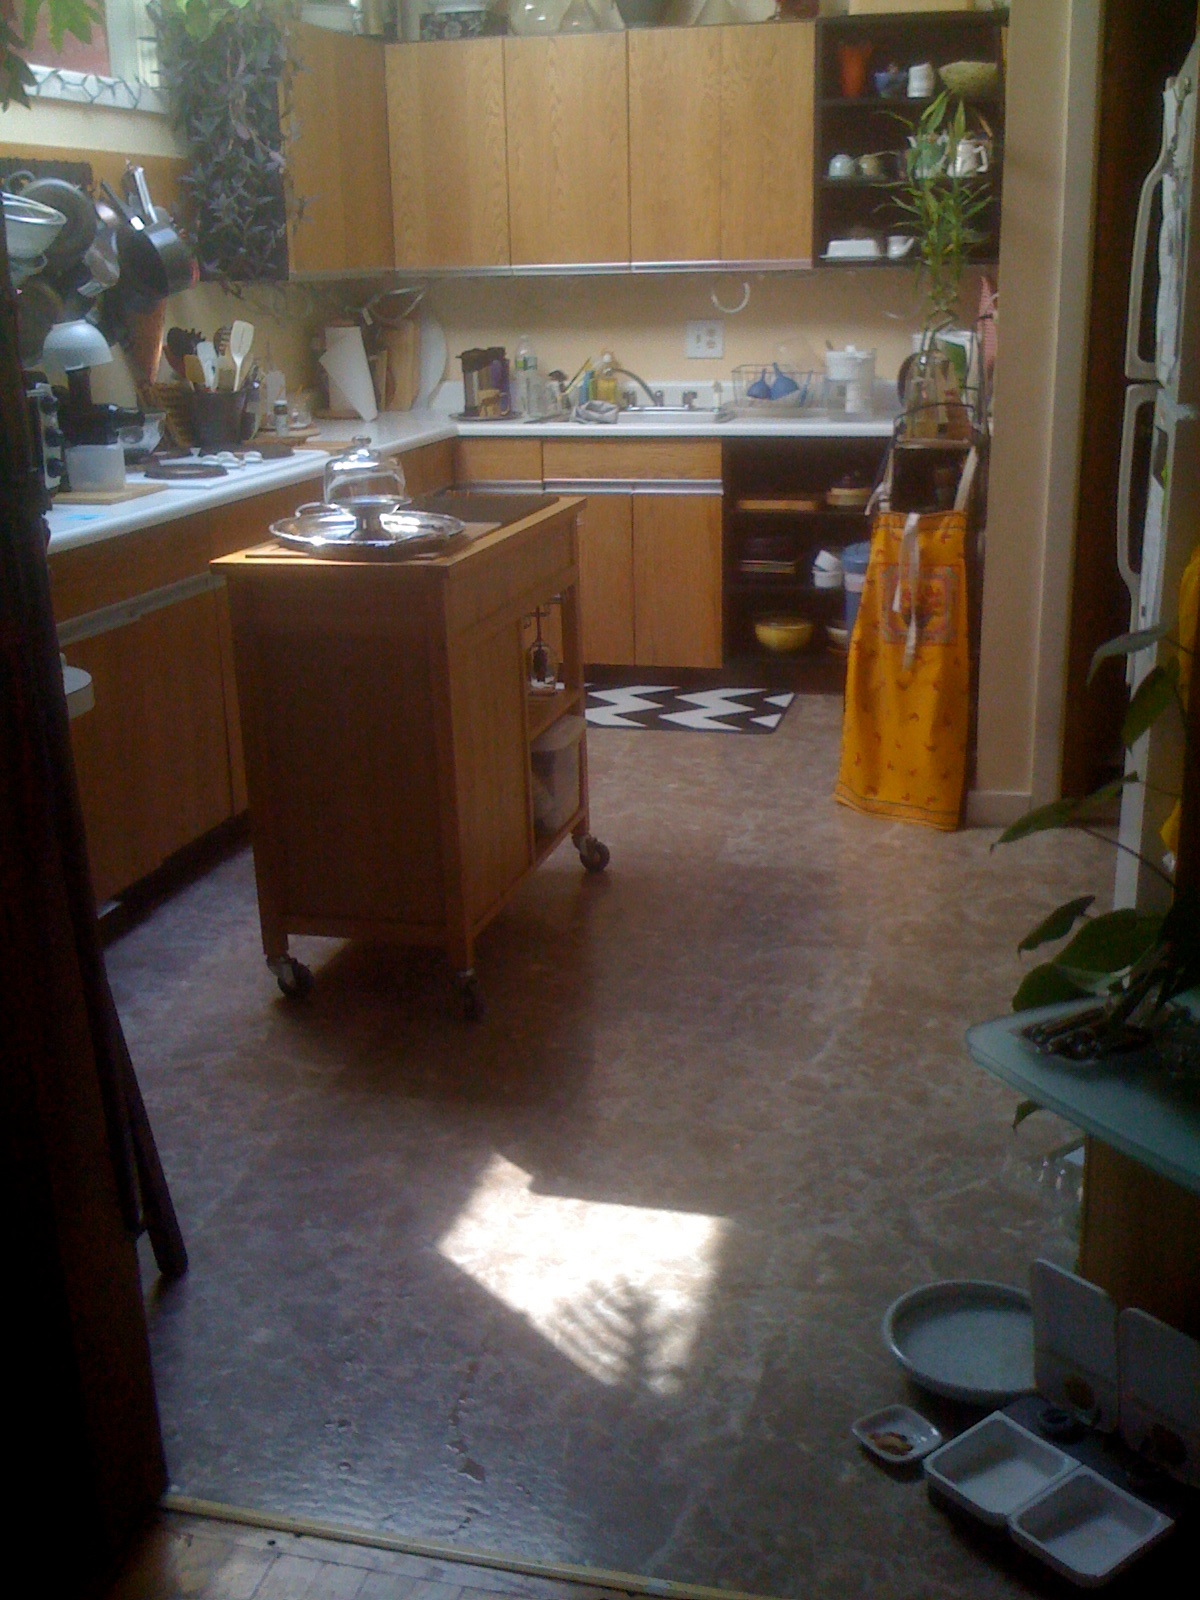
I love our expansive, sun-filled kitchen.  There’s plenty of room for all my dishes and cooking gear. But that awful, grey vinyl tiling was getting me down. I had already painted my bathroom floor, so I knew I could do it. I used porch and floor paint from my local hardware store as i knew the finish would be durable and lasting.  Here’s what the kitchen looked like before any floor paint began to fly.

Kitchen Floor Before:

The old floor was a giant roll of old vinyl in a hideous grey speckle tone.  I could never ‘see’ the dirt and hated that gross feeling. I wanted a fresh look.

Step 1 Preparing the old vinyl: I sanded the vinyl floor tiles with a 180 Ct sandpaper.  After sanding I vacuumed the whole area.

Step 2 Creating tooth on the old vinyl: I deglossed the vinyl floor with a deglosser liquid.  This is is a somewhat caustic process, so be sure to wear protective eye wear, gloves, and be sure the area in which you are working is well ventilated.  I had floor fans running the whole time and opened all the apartment windows.  The deglosser is applied with a clean cloth and removes any gloss finish the sandpaper didn’t get.  Steps 1 & 2 creates the ‘tooth’ from your old vinyl tiles and prepares the surface to accept the new primer and paint.

Step 3 Painting prep: I used painter’s tape and taped off the areas I didn’t want the paint to adhere to. You know around the kick board and edges where the old vinyl met the wood floor.

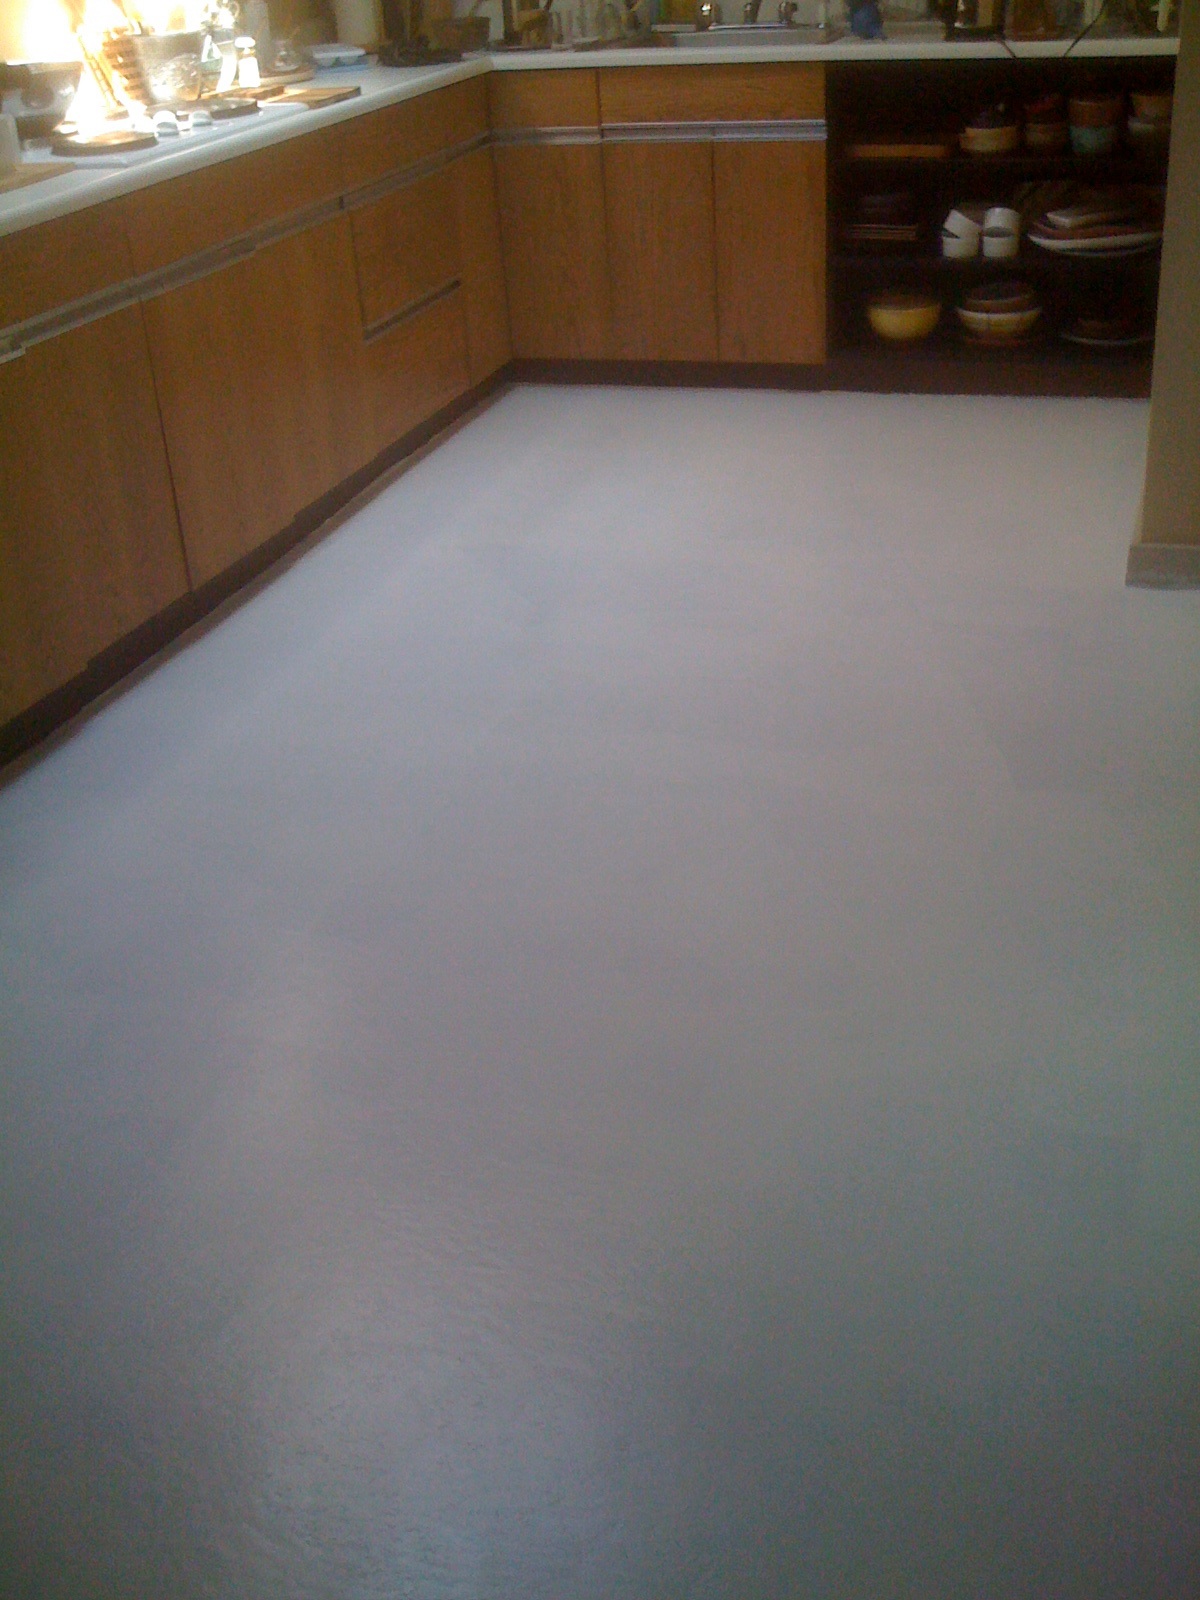
Step 4 Priming the vinyl: Primer is then applied. I used 2 coats and laid each coat on somewhat thinly. It took about 45 minutes between each coat to dry. Check the label on your printer and follow those steps.  The primer is an important step that prepares the vinyl surface for painting.  I used disposable sponge paint brushes, however you could use a roller or traditional brush.

Step 5 White base coat: Since I wanted black and white squares, I next painted on the white base color, over the primer. This time I used a disposable sponge brush and a small roller. The white paint took 2 coats and I allowed 45 minutes between coats for drying.

Step 6 Creating the black squares: Taping off the squares was the most time consuming process.  I followed the old tiles, as my guide, and have to admit, I needed to pull out my old T-Square to get all the squares ‘squared’.  Then, I taped ‘off’ the tiles I wanted to maintain the white color.

Step 7 Painting the black squares: Next I applied the black paint with another disposable sponge brush.  In order to get the density of black I desired, I applied 2 coats of black, put floor fans pointing directly onto the drying paint and waited 30 minutes between coats.  After the second coat of black paint went down, I waited another 30 minutes, more fans, then pulled up the painting tape.

That is all that is needed.  Except I did go in with a small paint brush and touched-up a couple of areas where the black paint had seeped under the painters tape.

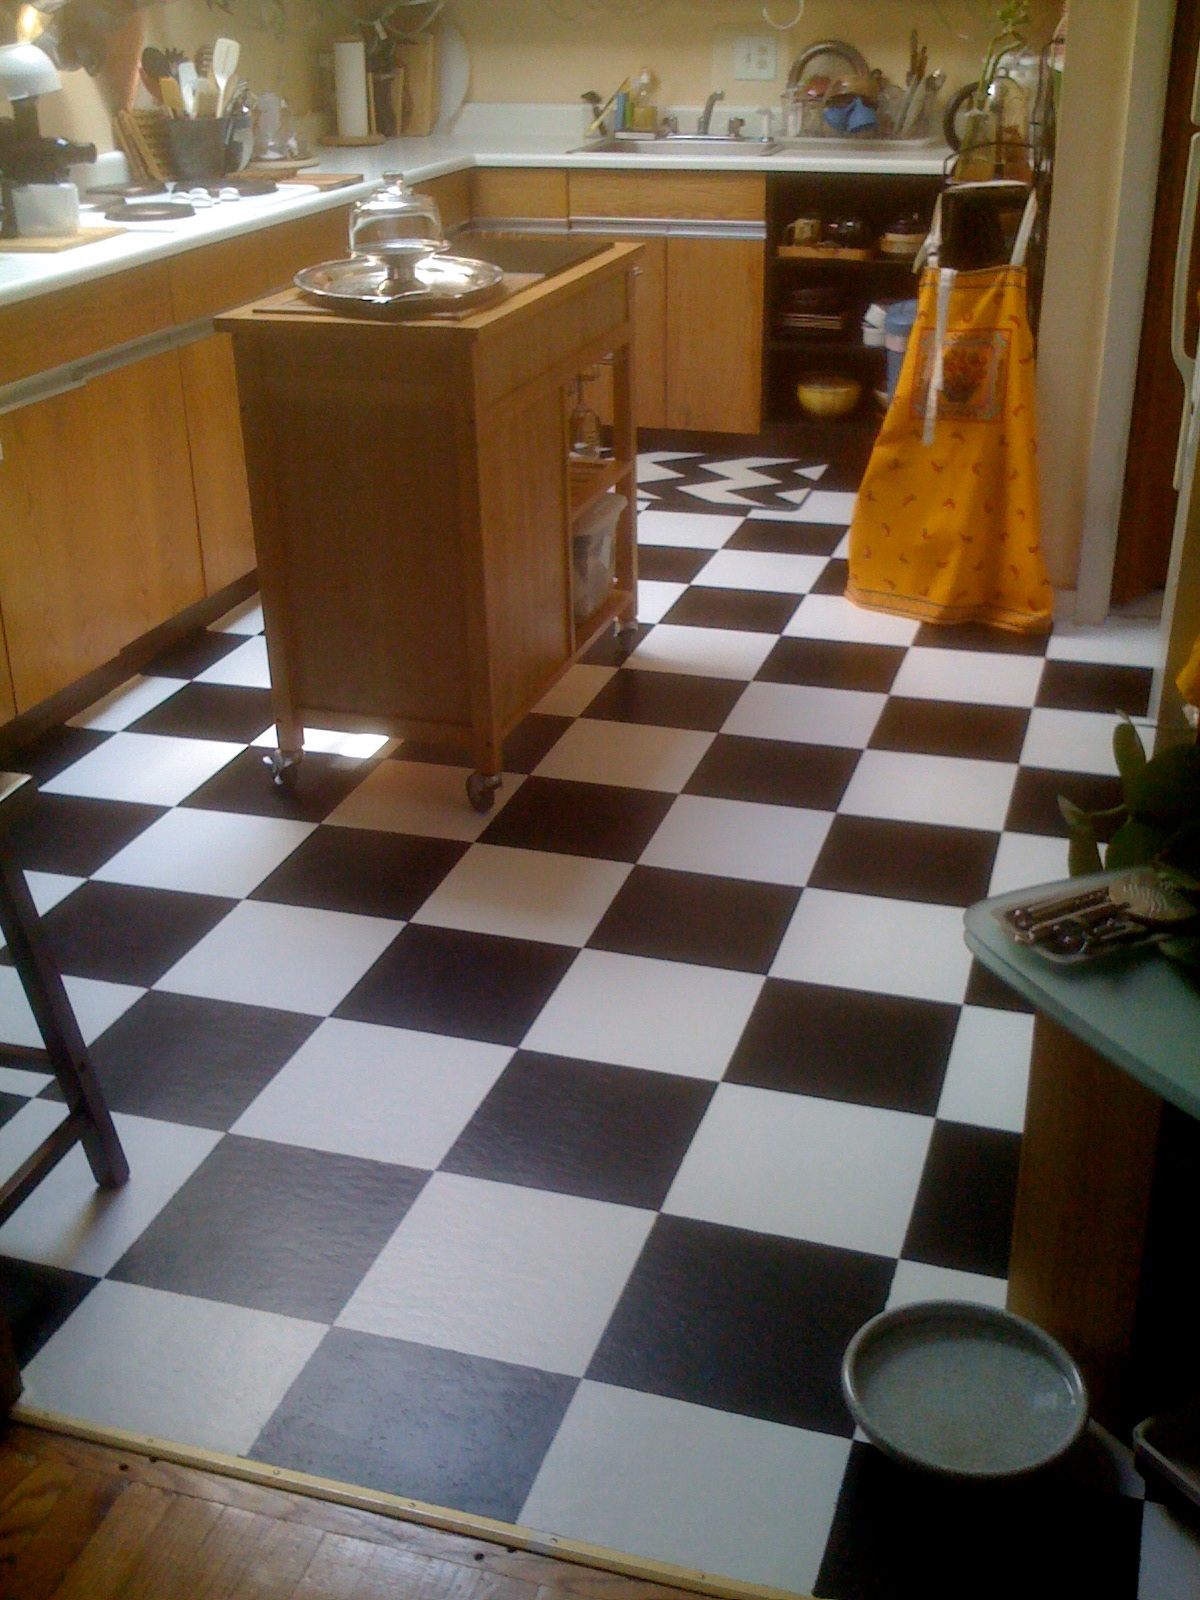
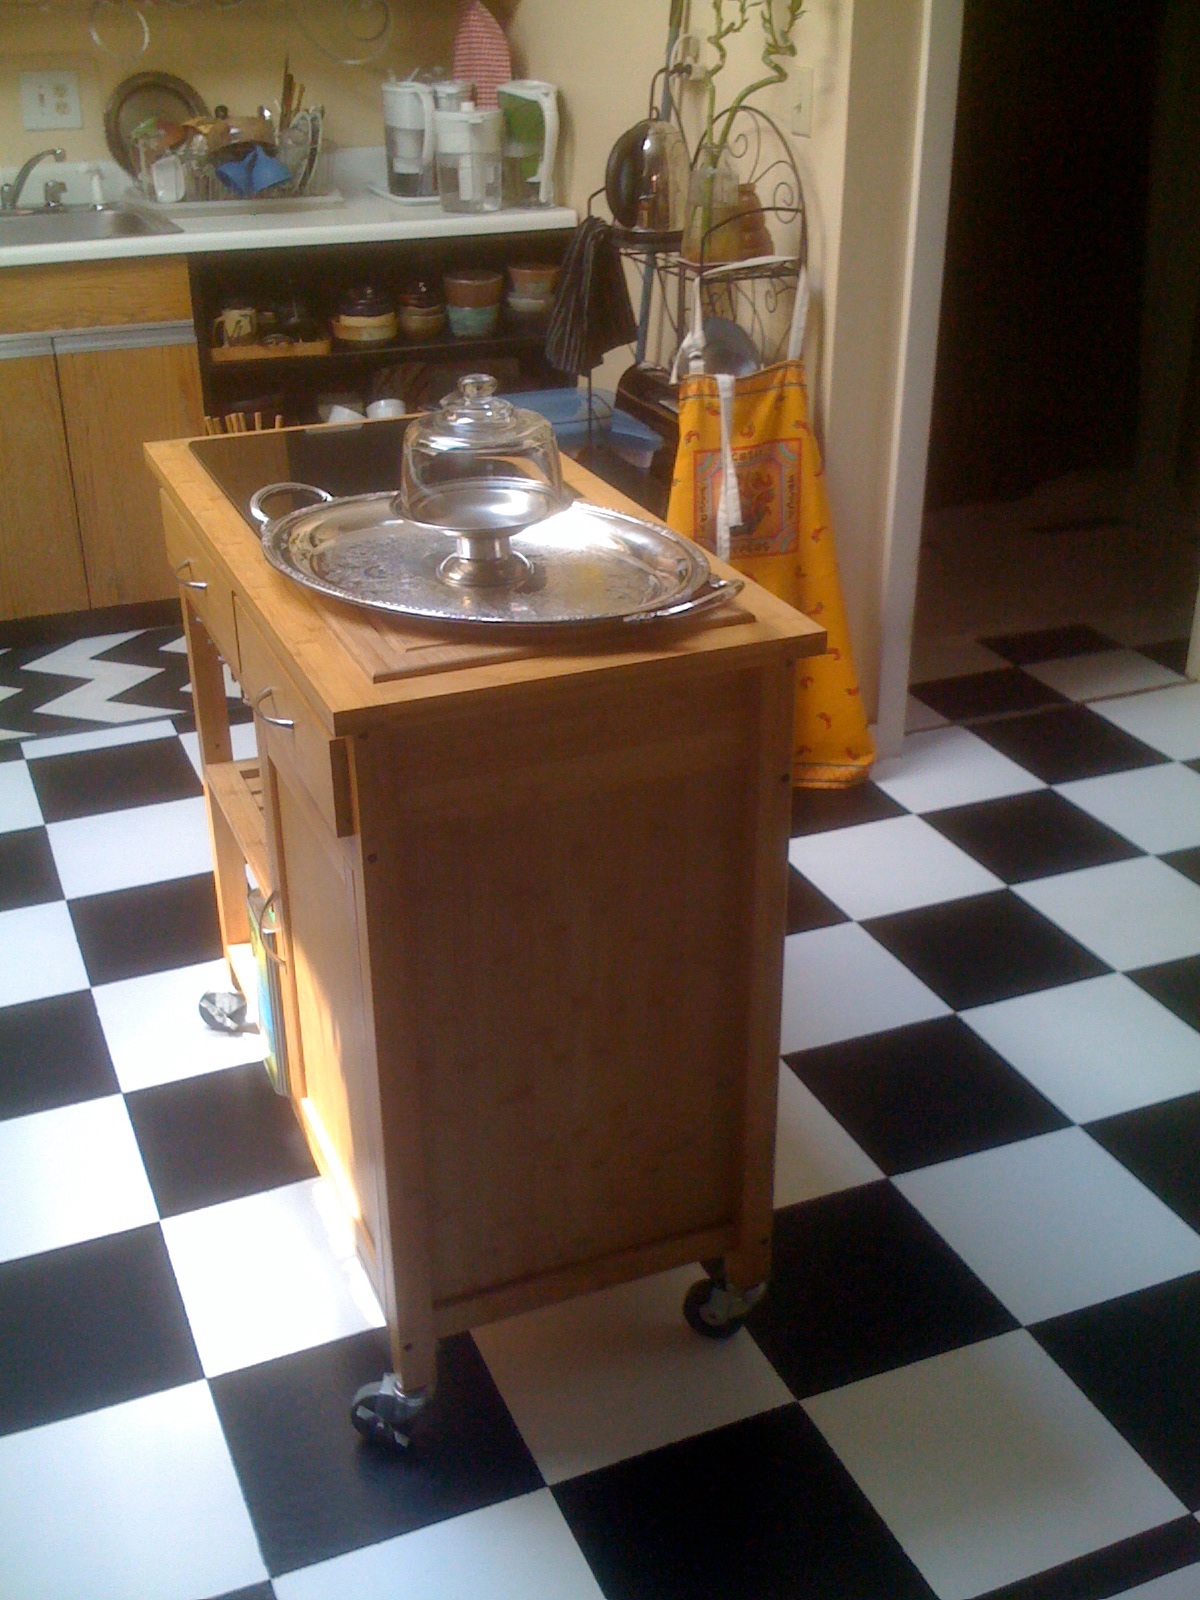
After:

I’m a big sucker for black and white tile and for under $100 I was able to give my kitchen floor a fresh, clean look and feel.

Filed Under: Apartment Therapy, Decorating, Design, DIY Tagged With: DIY, Interior design, Paint

  • « Go to Previous Page
  • Go to page 1
  • Go to page 2
  • Go to page 3
  • Go to page 4
  • Go to page 5
  • Go to page 6
  • Interim pages omitted …
  • Go to page 42
  • Go to Next Page »

© 2024 Mary Wiseman Designs. All Rights Reserved. Webspinner Msondevshop.graphics